Creating Self-Paced Courses
The Content Creator or Administrator or any user with the permissions to create courses, can create two types of courses on Skill Lake, namely, Self-paced courses and Instructor-led courses.
Self-paced courses are courses that the learners can pursue at their own pace. These courses do not have an instructor, live sessions, or definite start and end dates.
The courses you have set the course visibility as Open will be available for all in the Browse courses (Course library) tab. You can restrict the course to a department/team by setting the course visibility as Restricted so that it will be available only to the learners of the specified department/team in the Browse courses (Course library) tab. You can decide whether the course offers a certificate by configuring and selecting the certificate template.
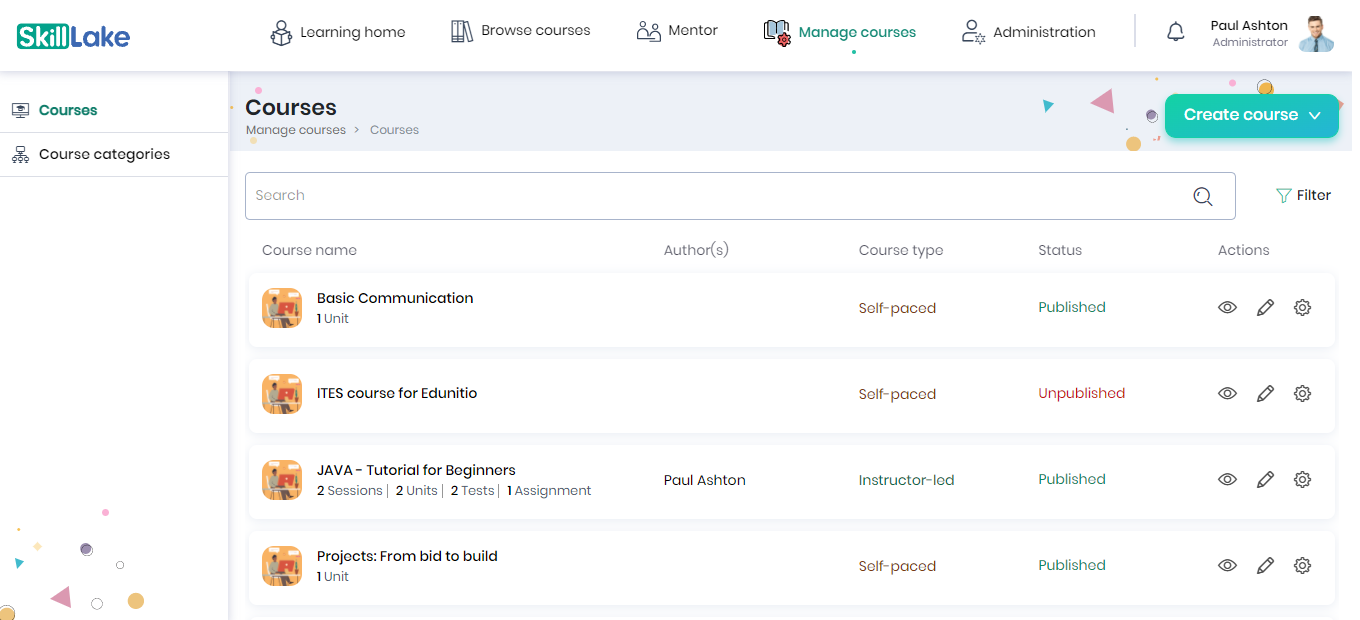
To create a new “Self-paced” course, click on the Manage Courses tab. Click on the Create course button and select the Self-paced course.

Course Information
You will navigate to the Create course page to enter the course title and course description. Next, select the course category, sub category, course level, course image, and click on the Save button. Once you click on the Save button, you will be navigated to the Course Settings section.

Course Settings
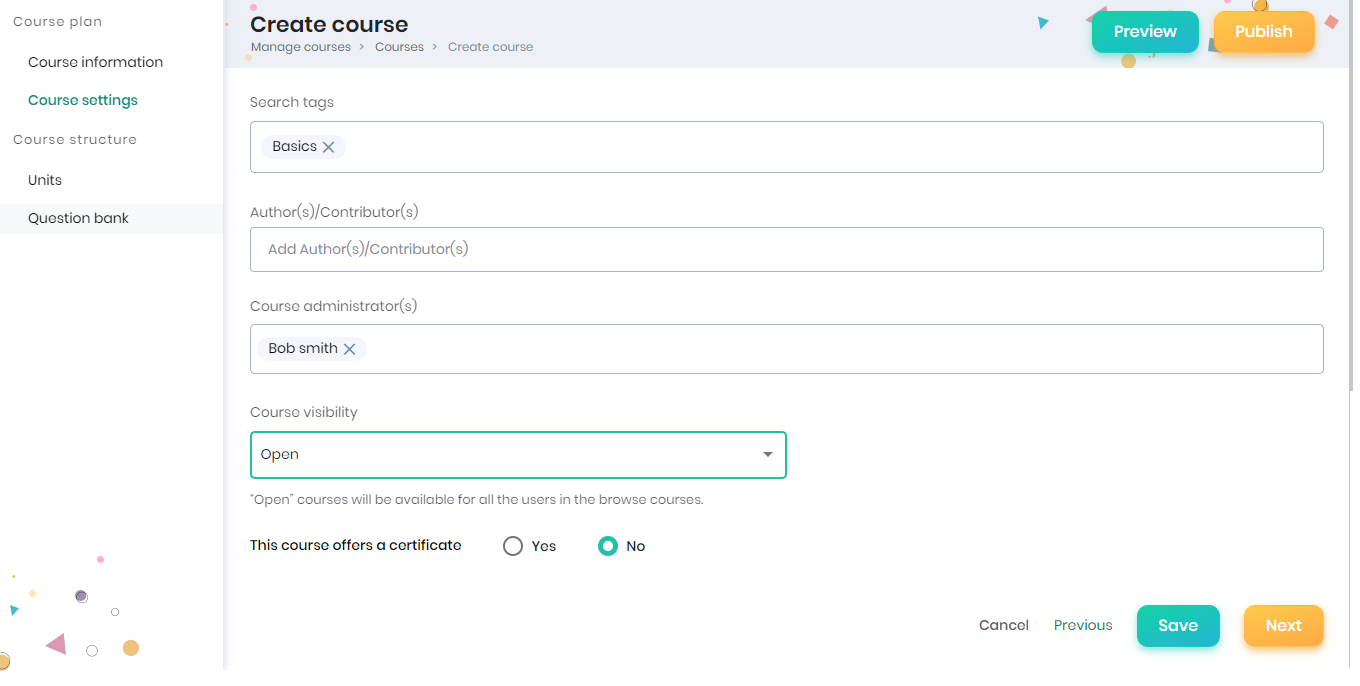
Add the search tags (tags based on which the course can be searched) and the name of the authors/contributors for the course. Select the course administrators and visibility for the course. Select the access rights for the course as ‘Open’ so that it is available in the Browse courses tab for all learners. Choose whether a certificate should be issued after completing the course. Click on the Save button to save the course. Click on the Next button to navigate to the next screen for creating the units of the course.
Course Structure
A course is structured as a set of “Units”. Each unit can have one or more “Content” blocks and “Tests” in-between or at the end.
Units
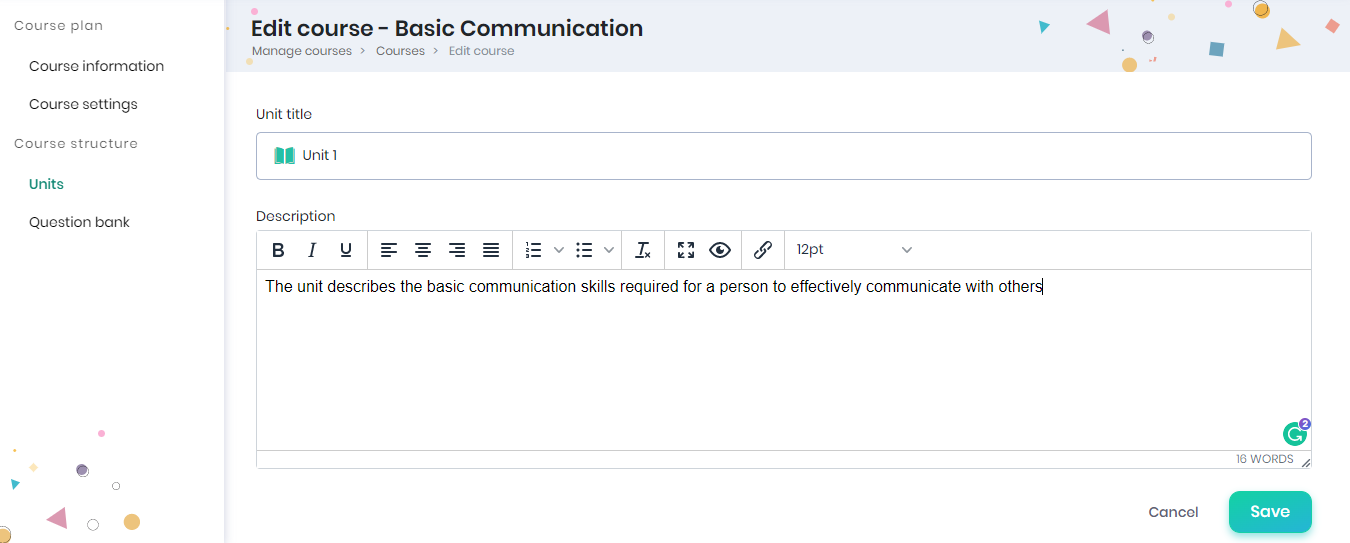
Enter the name of the unit, to be created and enter a brief description about the unit (gives a clear understanding for the learners about the unit), and click on the Save button.
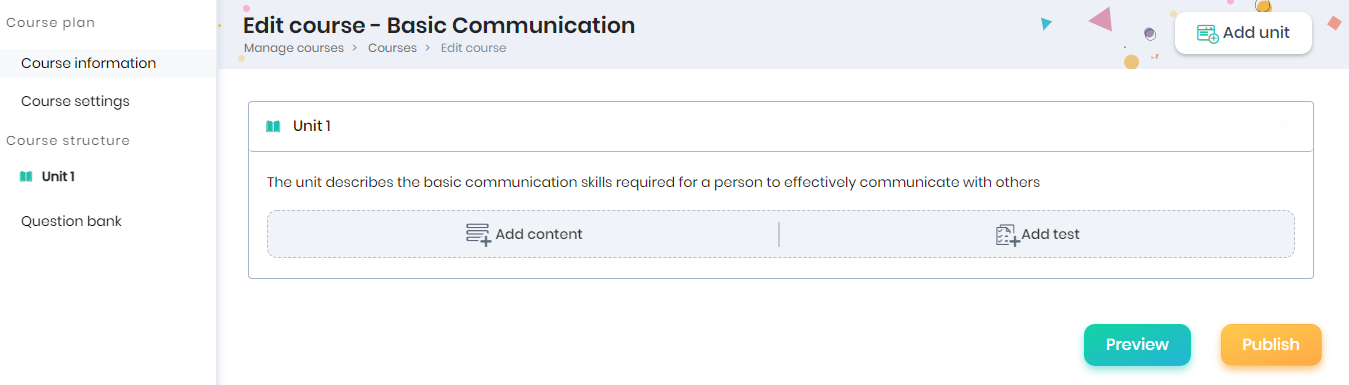
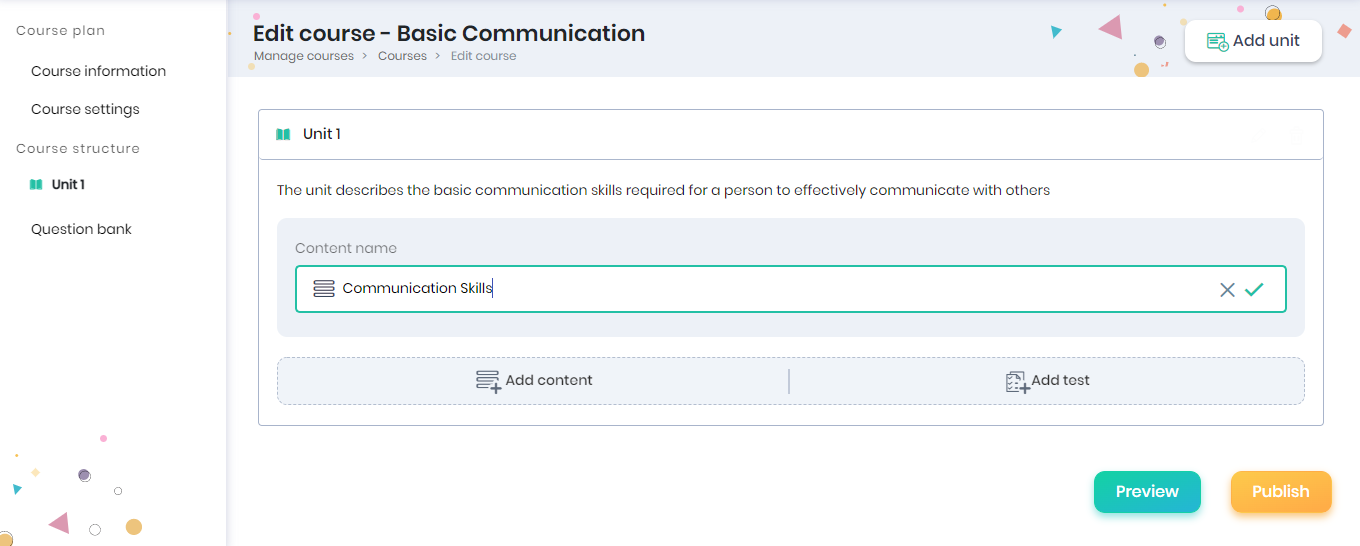
In the Units section, you can add the learning materials. Click on the Add Content to begin adding a content by first providing a title/name for the content.
The Content Name (or title) can be keyed in this field, and click on the tick button to Save.
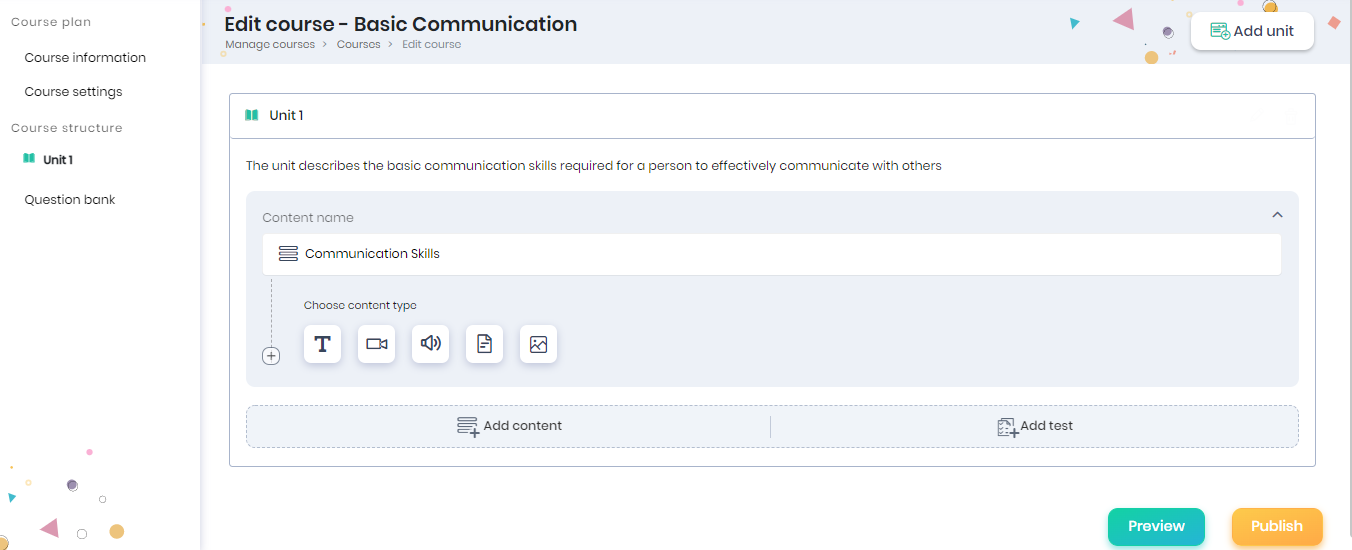
A “content” block is a mashup of text, video, audio, images or documents, sequenced in the mentioned order. You can click on the desired icons to add the respective material.
Text Box
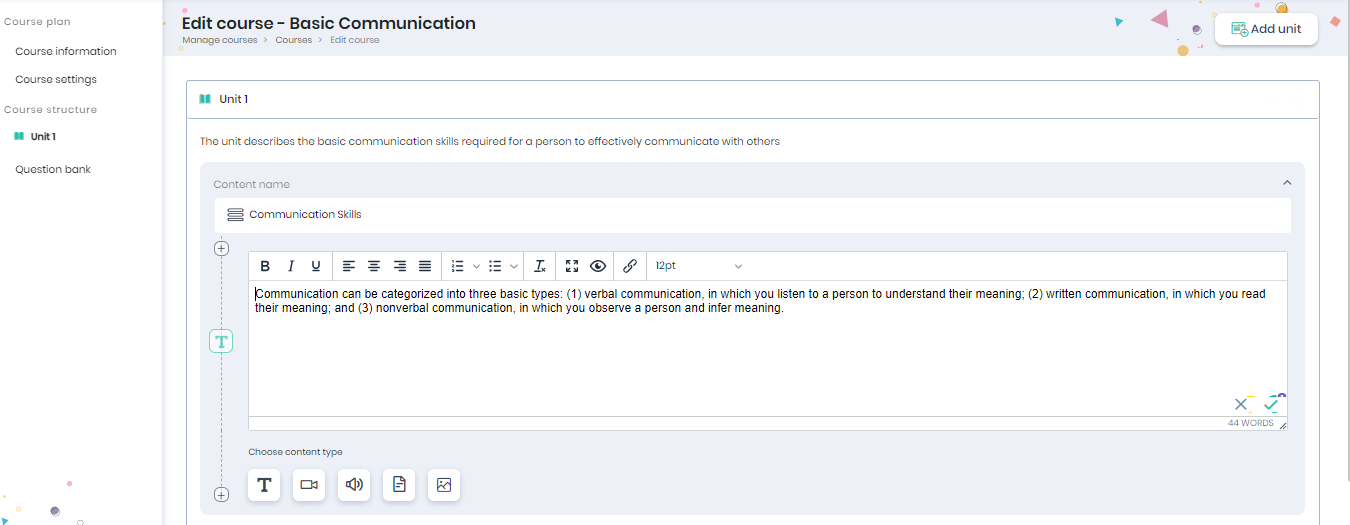
Click on the Text box icon to include text material within the content. You can format, align, number, and insert links to the content and click on the tick button to save.
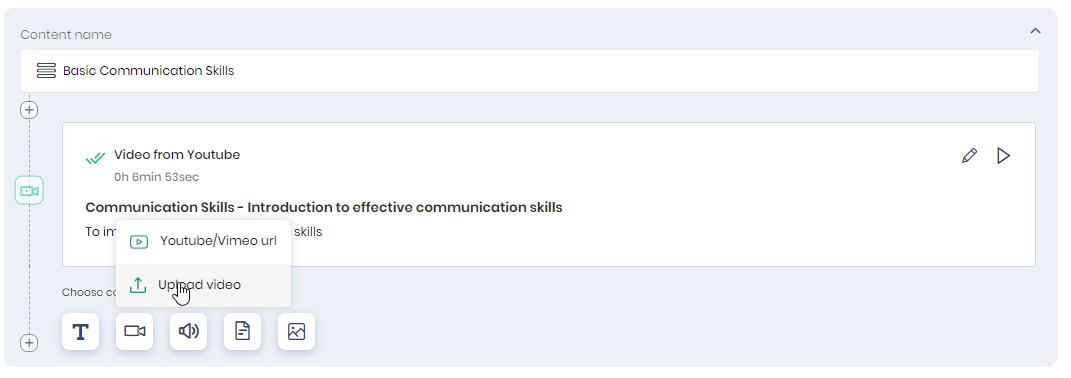
Video
Click on the Video icon to add a video material within the content. You can either add the video as Youtube/Vimeo url or can upload the video from your system.
Adding video as Youtube/Vimeo URL

Click on the Youtube/Vimeo url icon to add the video url.
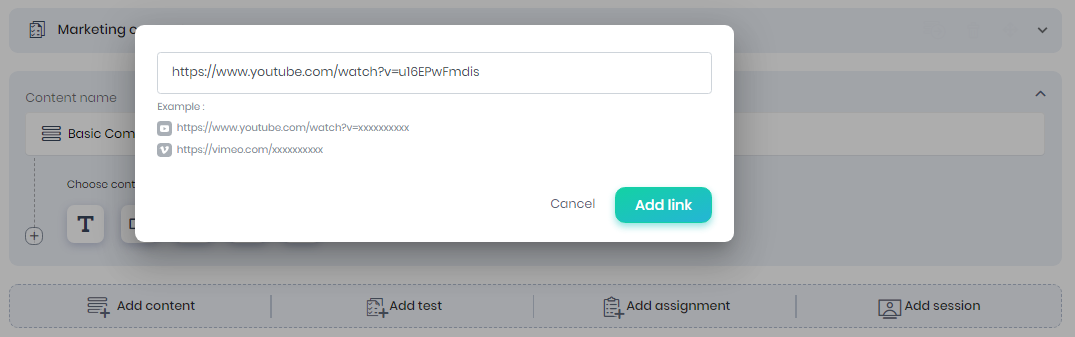
Click on the Add link button to save the video to the course content.
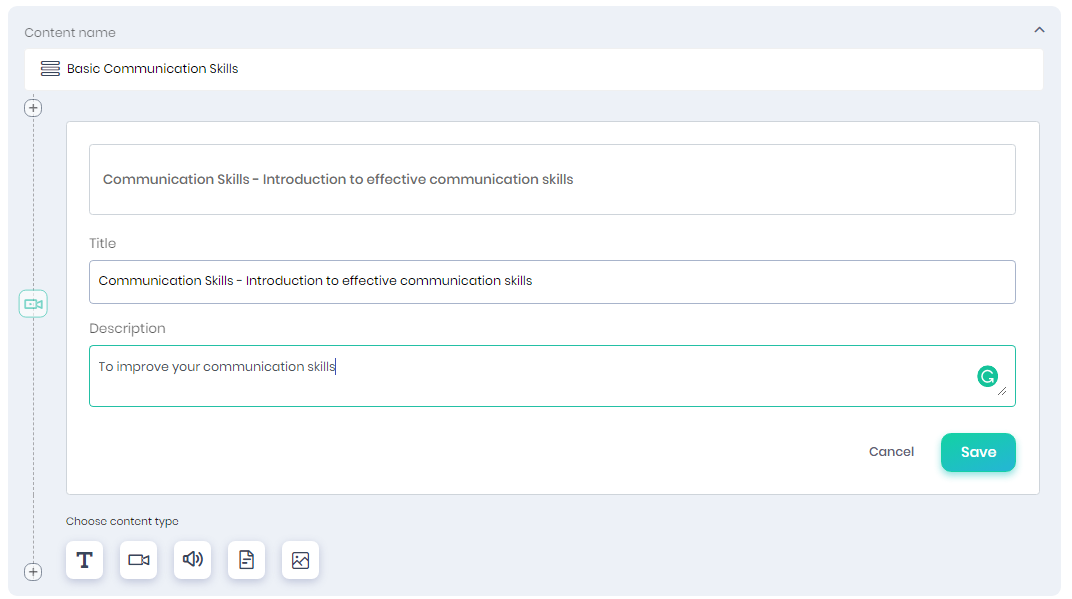
Click on the Save button to save the video to the course content.
Adding video from your system
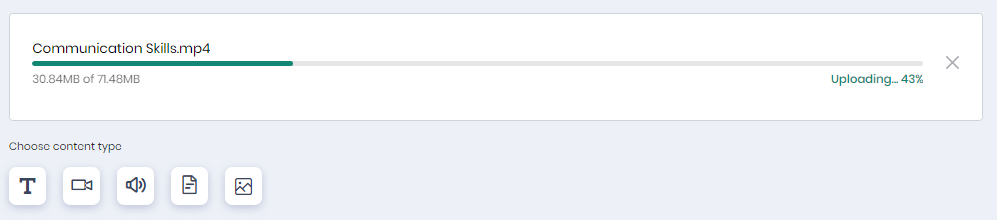
Click on the Upload video icon to upload the video from your system.
Upload the video by drag and drop or browse from your system. You may upload the video in mp4.
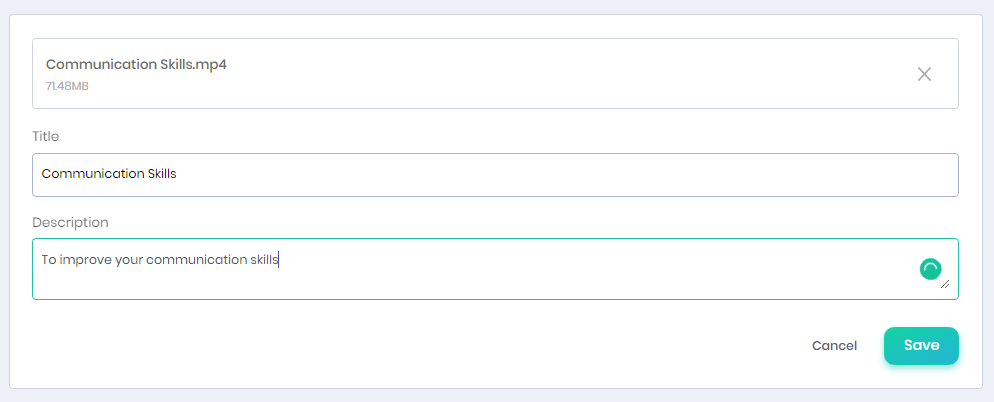
Click on the Save button to start uploading the video to the course content.
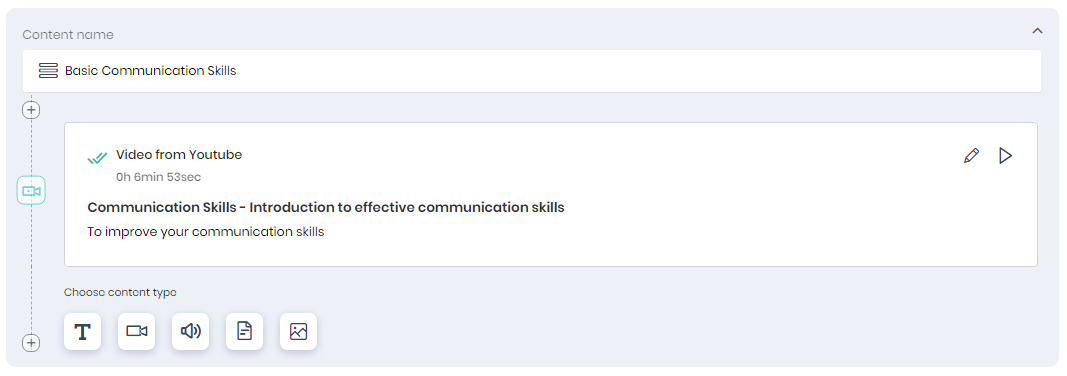
The uploaded video will be displayed as shown below.
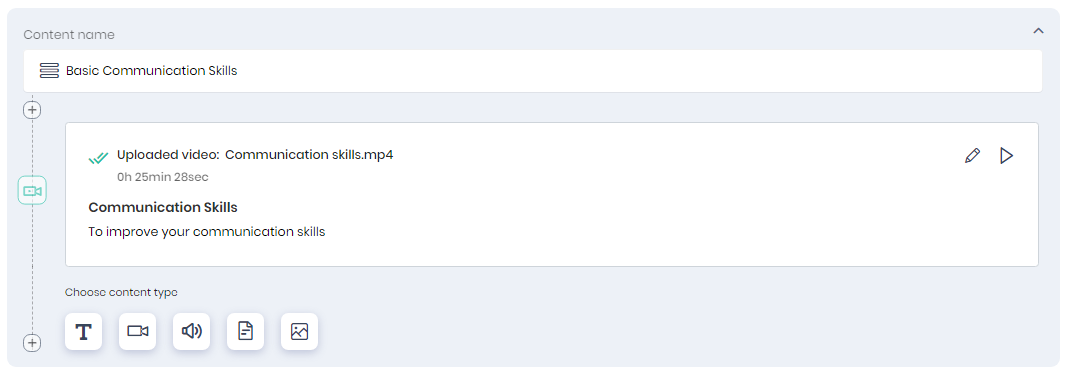
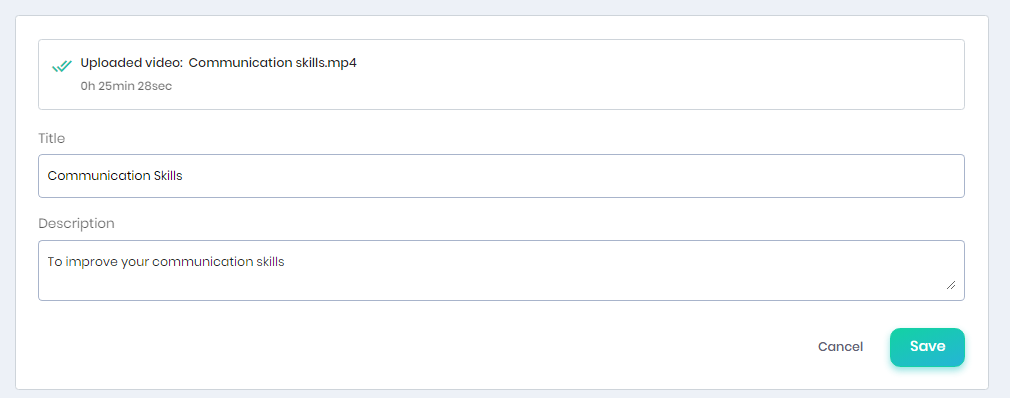
Click on the Edit icon to edit the video title and description.
Click on the Play icon to play the video.
Audio
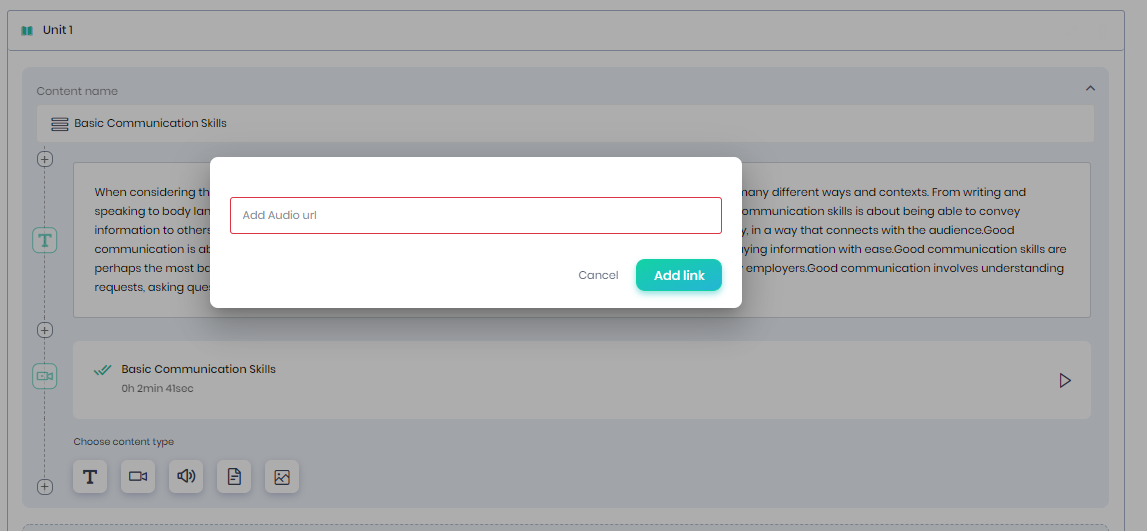
Click on the Audio button to add audio to the course content, and click on the Add link button to provide the url for the audio file.
Document

Click on the Document icon to add a pdf or word document to the course material. Browse and select the document and it will be added as part of the content block. The Allow learners to download this document option helps the learners to download the document during their learning process.
Image
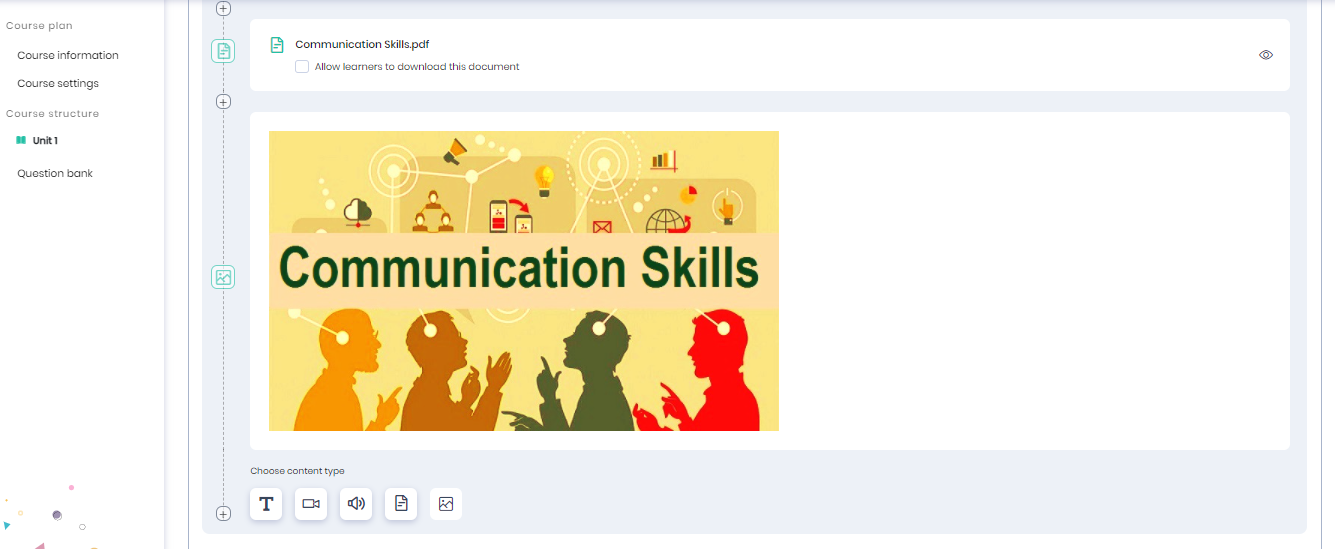
Click on the Image icon to add an image to the content block.
All the text, video, audio, document, and image can be edited or deleted. Also, you can hold and drag the icon on the left to rearrange the course material. If you want to add new material between 2 existing ones, click on the “+” icon on the left and add the desired content type
Once the content is saved, it gets added to the Unit.
Adding units
Click on the Add Unit button on the right side to add more units to the course.
Adding tests
Click on the Add test button to add a graded or guided test for the course material. For guided tests, the Course Administrator can provide options that will guide the learner to the correct answer. For graded tests, they can set a pass criteria, and number of attempts. The scores are recorded based on which the instructor can evaluate the learners. Refer to this article to learn more about creating tests.
Previewing the course
At any point while creating the course, you can click on the “Preview” button to check the learner view of the contents or course parameters that have been added.
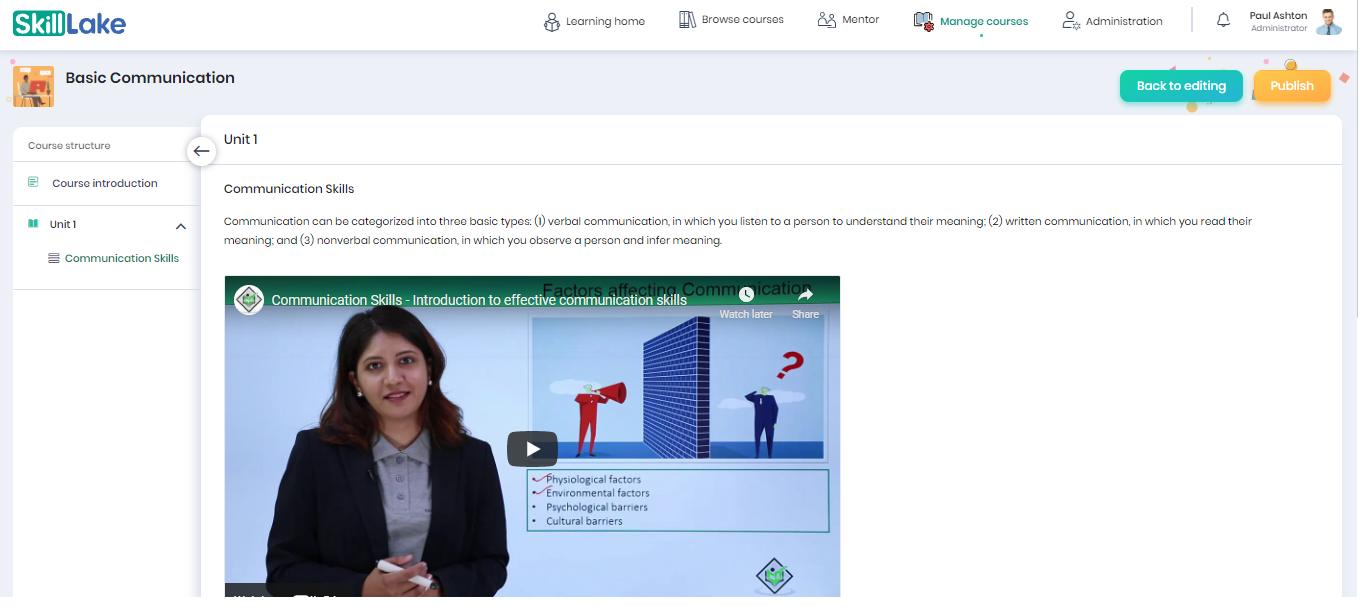
Click on the Back to editing button to continue editing the course material.
Publishing the course
Click on the Publish button to publish the course when you are done. A confirmation message appears, where you have to click on the Publish button to confirm the publishing of the course. The published courses will be listed in the Manage Courses tab.